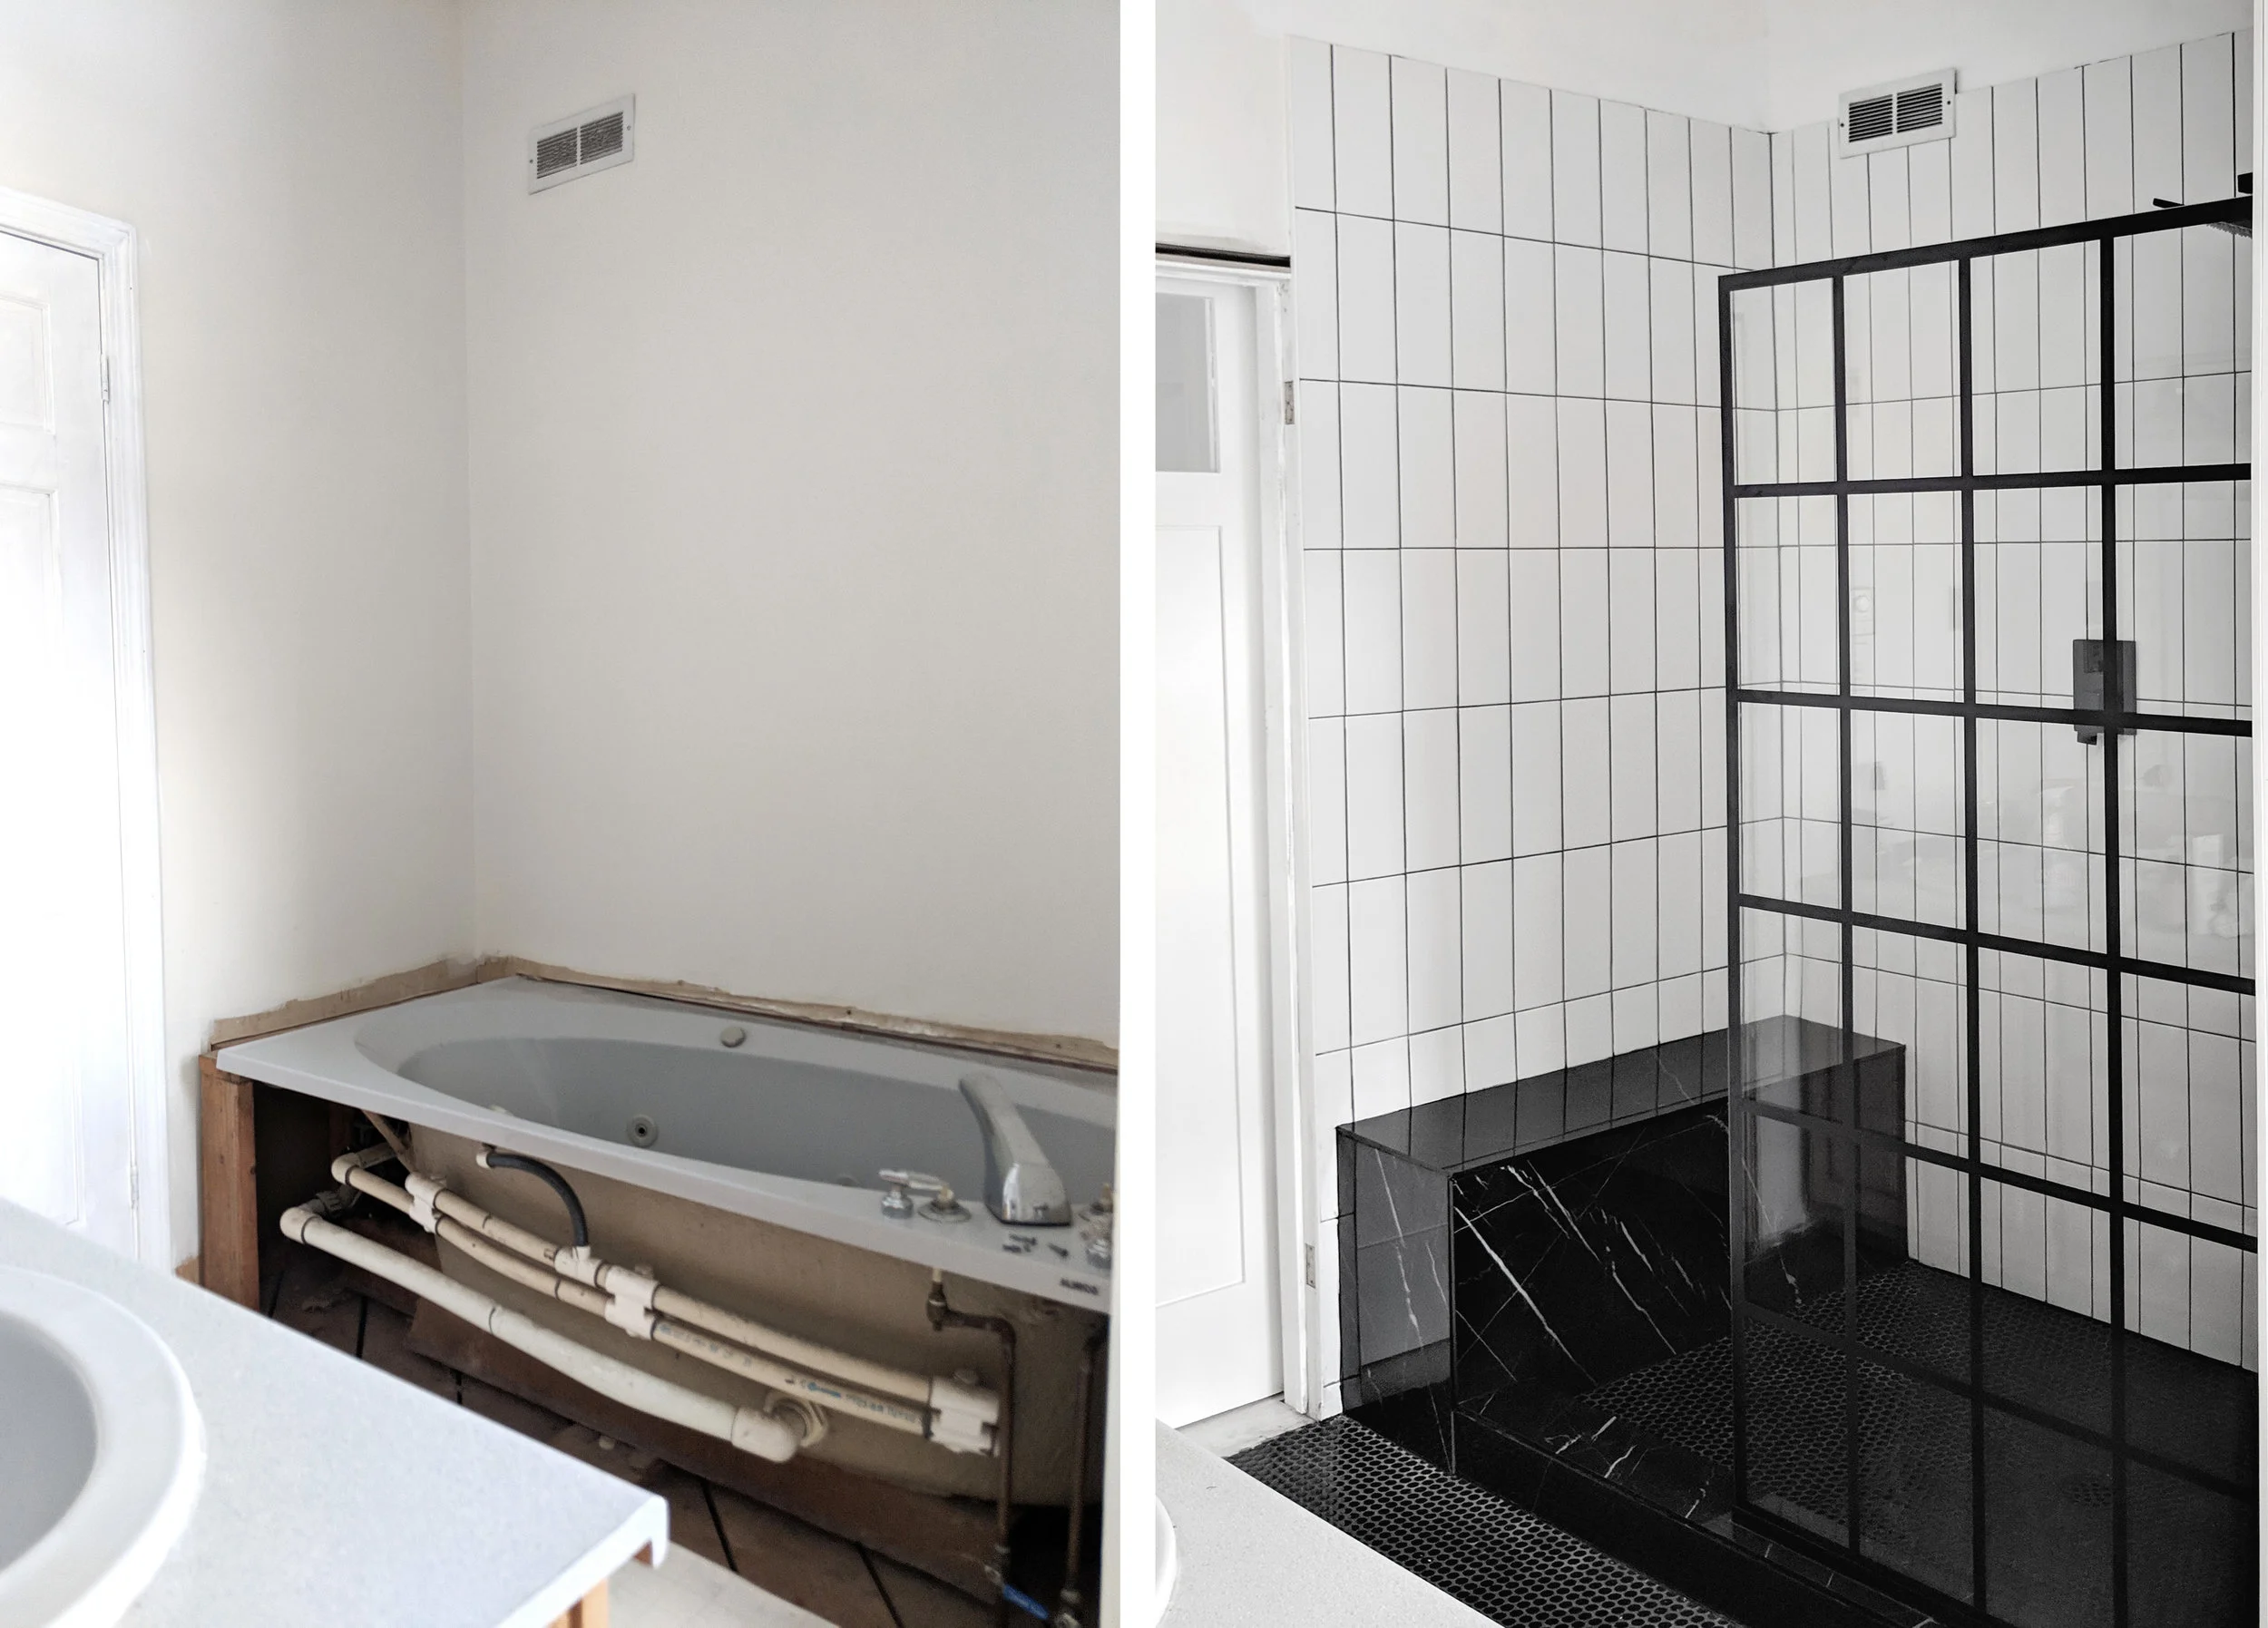
Hey guys!! Happy Sunday! Today we are finally sharing all of the “how to” details of our master shower! Justin did SO much research before starting this project, and I seriously cannot believe how many steps are involved!! Waterproofing is no joke lol. Justin wrote this post for any of you who are considering tackling a project like this yourselves! We are going to take you through it from start to finish! We have a “cheater” master bathroom that also leads to the hallway. When we moved in, there was this giant soaker tub, and a tiny stall style shower in the downstairs bathroom. It was SO annoying not being able to just shower upstairs, and instead looking at this soaker tub we never used. Lol. We decided to put in a walk-in shower upstairs, and we will be putting in a combined bath & shower in the downstairs bathroom in the coming months.
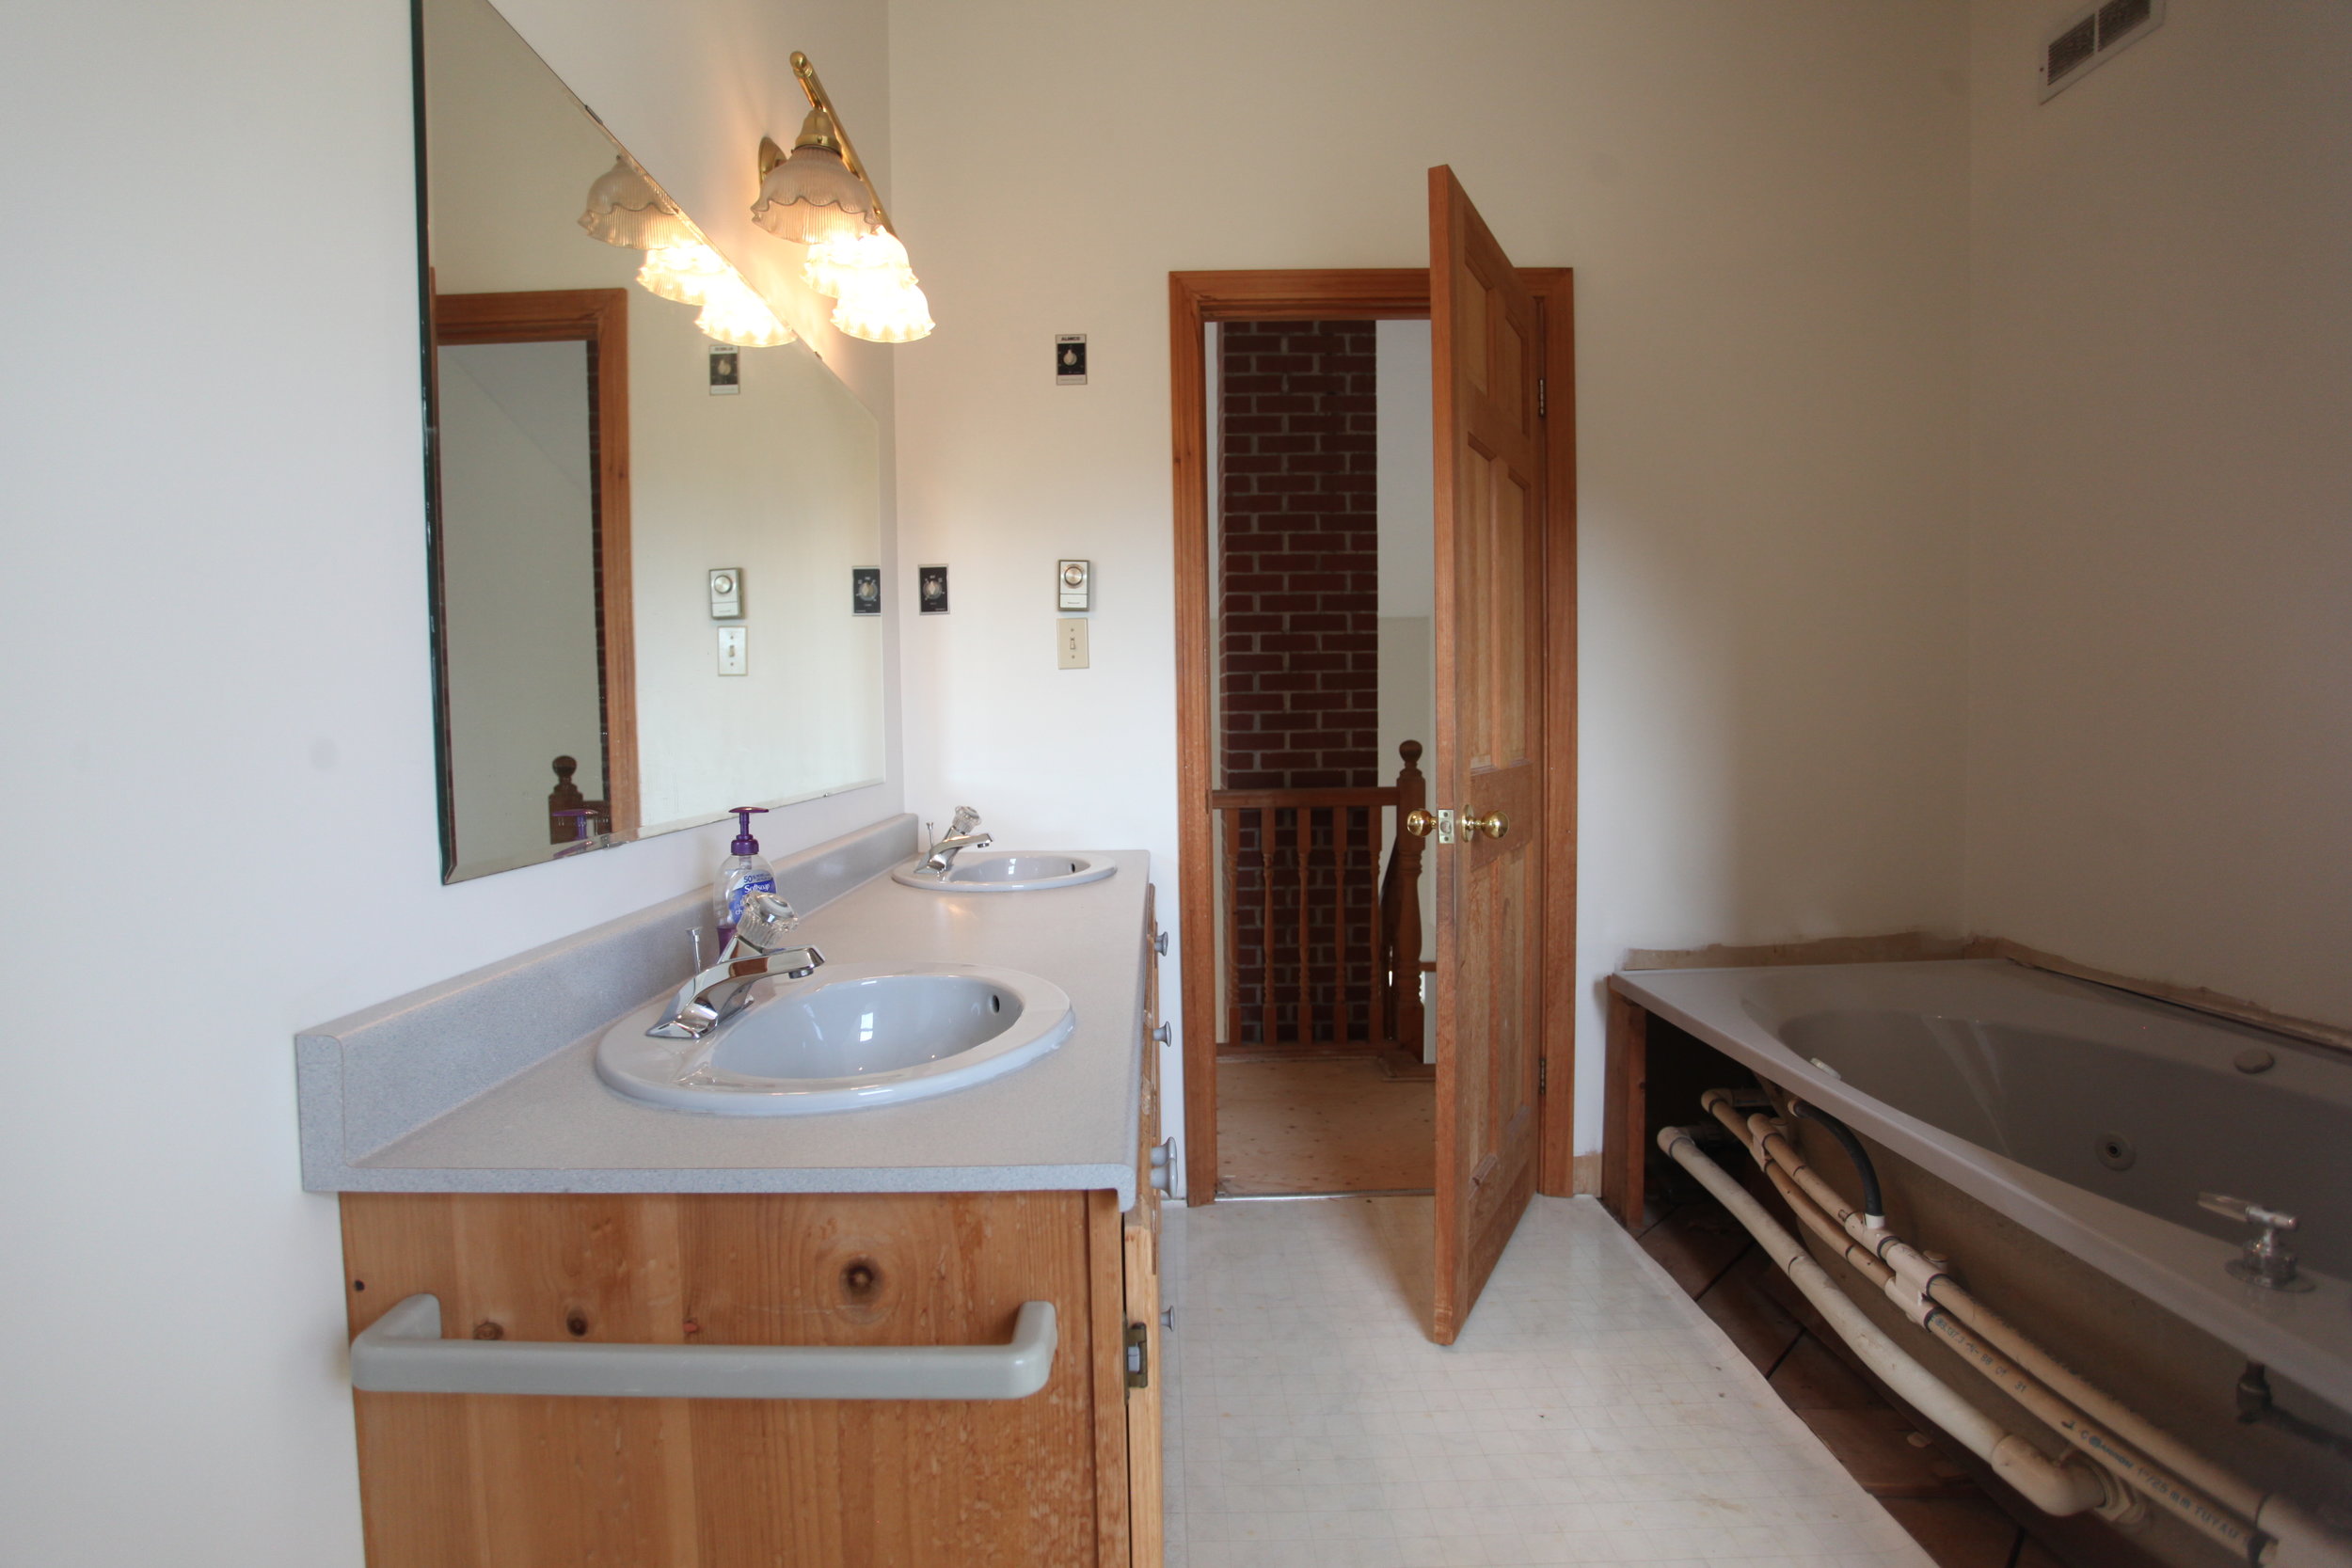

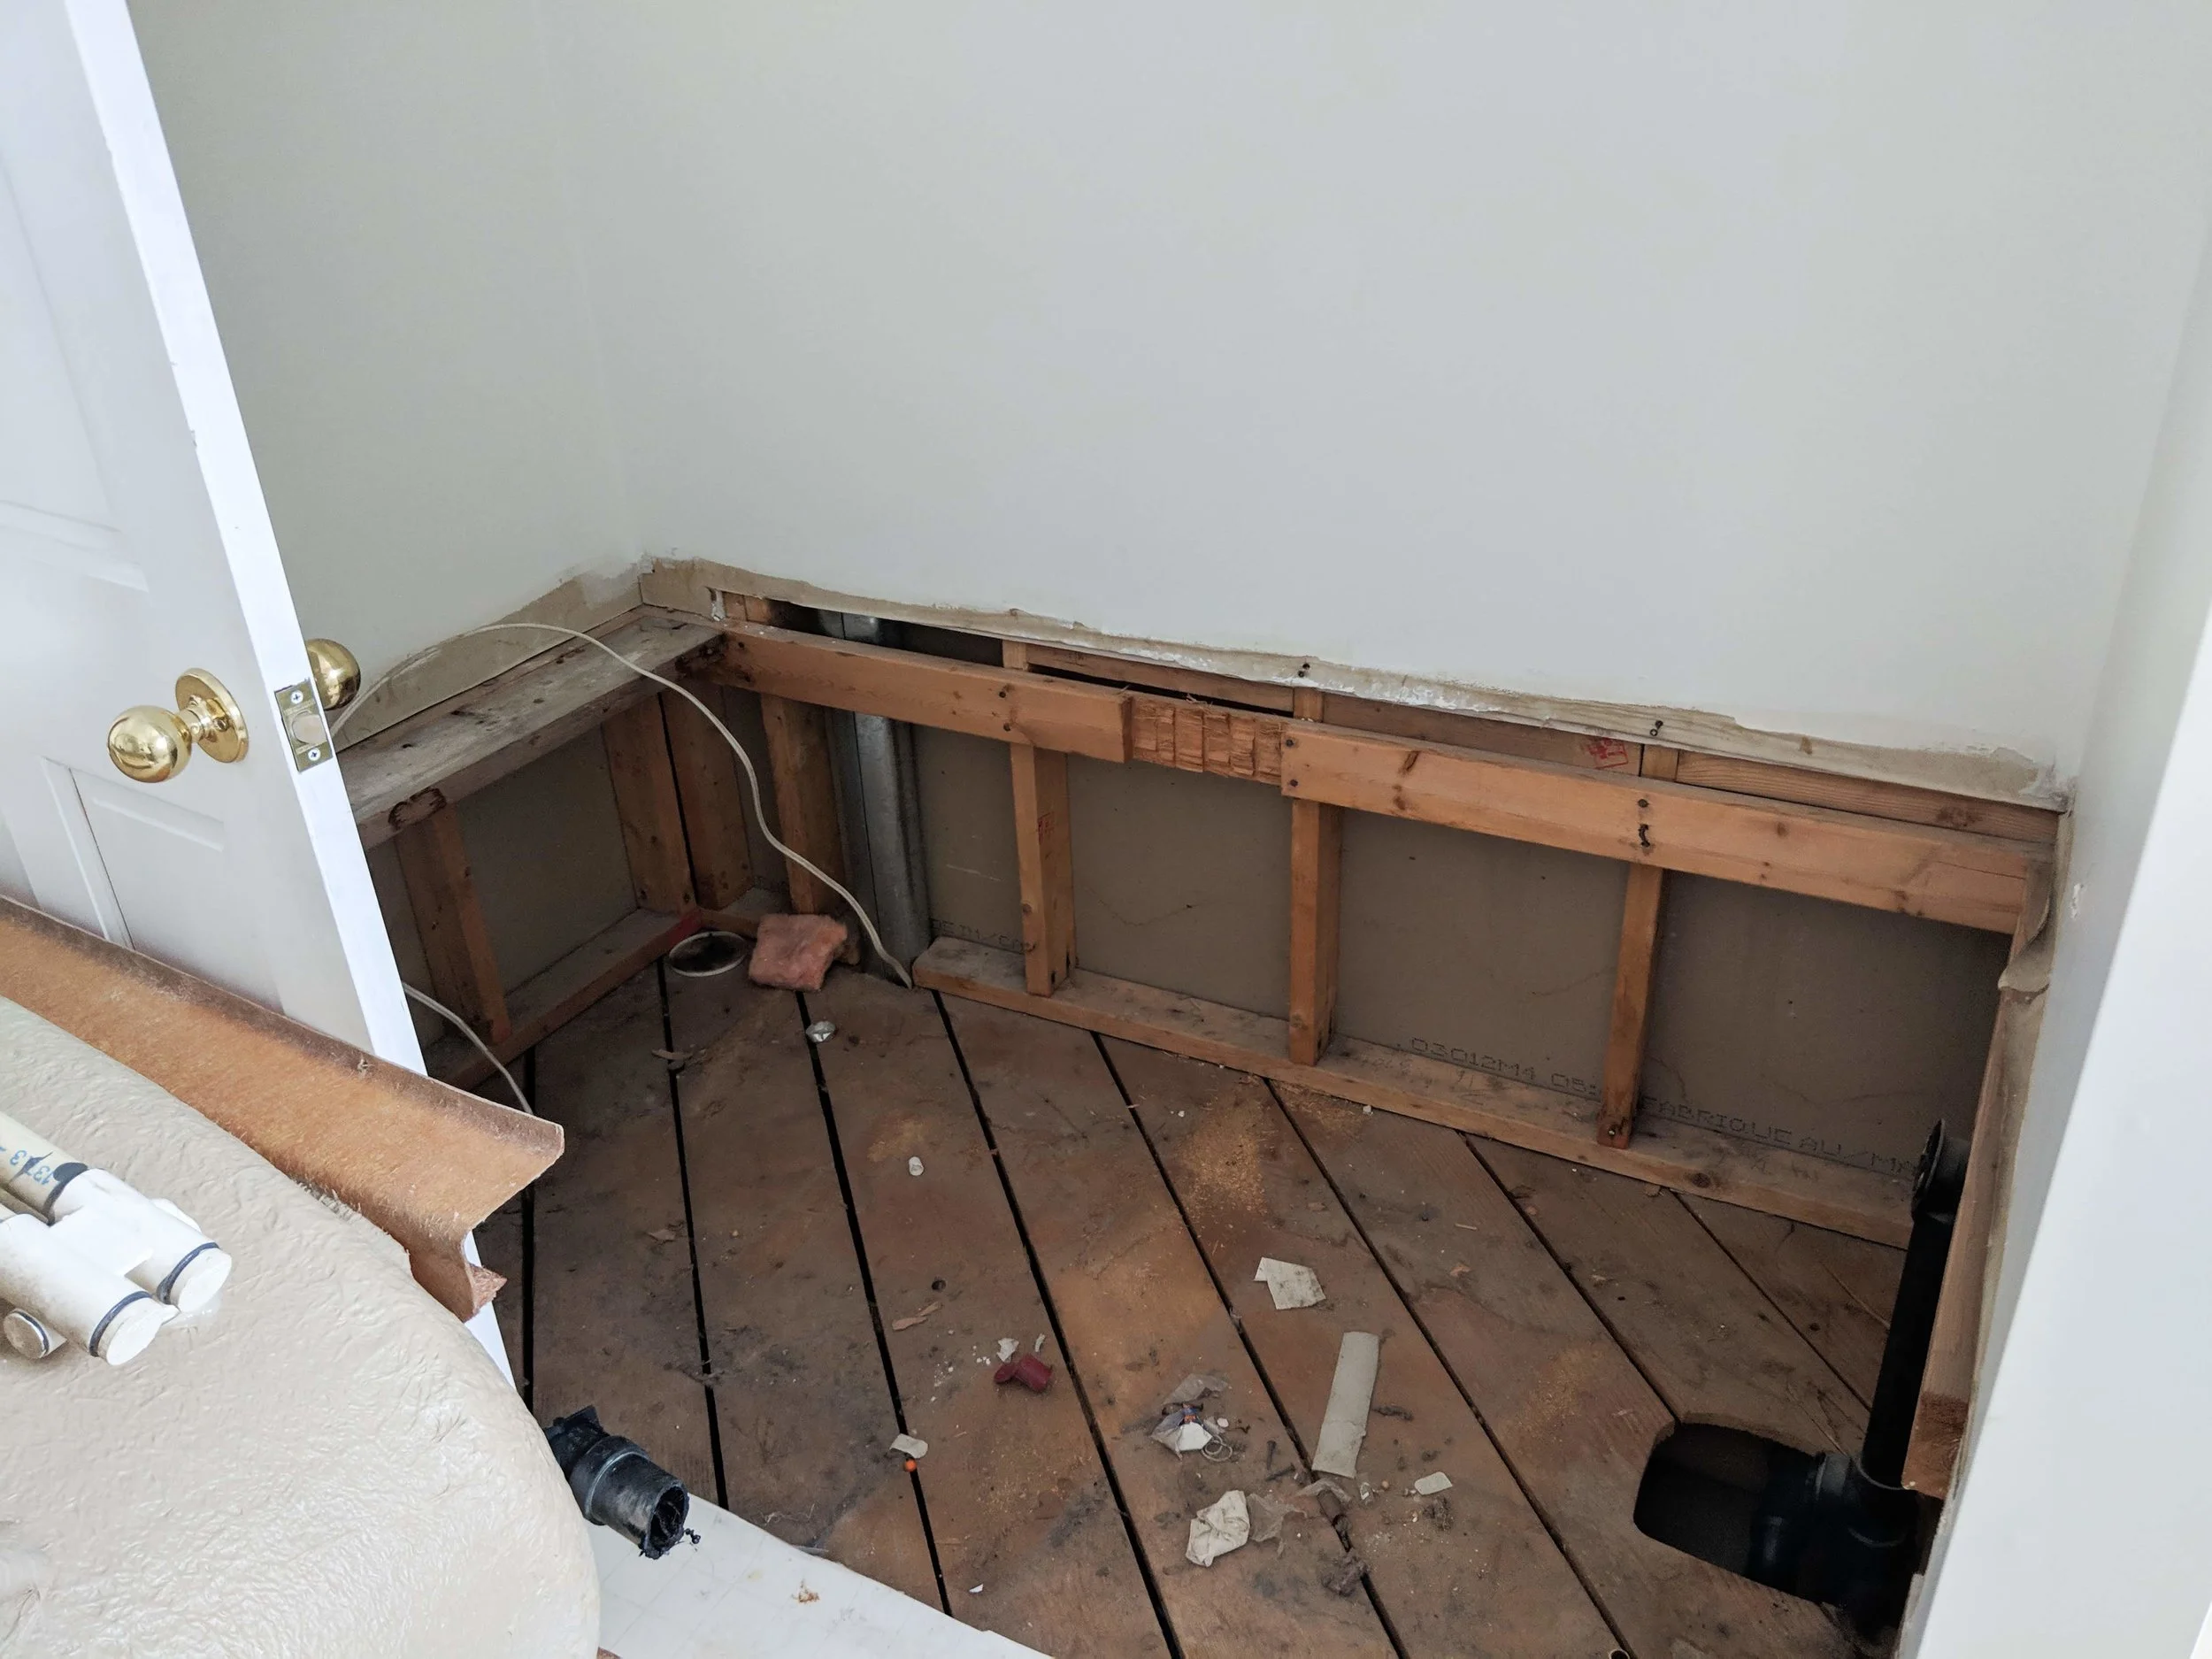
Taking out the tub was the easiest part of the whole process; we just disconnected the water supply and drain piping, and the tub slid right out. Getting it down the stairs was bit trickier, but we managed to get it onto our front deck where it sat for a few weeks until the restore came to get it. Lol -A great resource for recycling furniture & appliances when renovating!! Such a plus that they pick up!!


Prepping the space
The first thing you are going to want to check about your new shower space is how square and level everything is. If you have an older home and the floor and walls have shifted over time, now is the best time to correct this. Re-framing walls and pouring self-leveling compound may be required to prevent a lot of headaches down the road. We have been lucky so far in that it appears this house was really well built, everything has been mostly level and square.

Deciding on your waterproofing method
This is the most important thing to consider of you are going to DIY your shower. There are several different options, each with varying price and complexity. You can go with a waterproofing system like;
Pros:
Easier install, pre sloped shower pan
Cons:
$$$, fixed drain location
Or you can go with liquid waterproofing membrane such as Redgard
Pros:
Lower cost, can fit any size shower or drain location
Cons:
Labour intensive
What you cannot do is install tile directly over drywall. Grout is not waterproof and if you skip the waterproofing step your shower will not last and you will run into serious issues.
We considered all the options and decided to go with cement board and Redgard for our shower waterproofing. We needed something that would work in our large space without blowing our budget.

Steps of the process
1: We had to tie the shower drain into the old drain for the tub. If you are going with a tiled floor, you need a tile -in drain
2: We used 2x4’s and ½” plywood to frame out our bench and shower curb, 3 2x4’s stacked on top of each other will give you the proper height for your curb. You need a curb to keep the water from getting all over your floor. Make sure there is a slight slope on the bench and curb tops, you don’t want water to pool on these surfaces.

3: Installing a pre slope. A pre slope is the first layer of your shower floor that is used to direct all the water towards your drain. Use a sand cement mix (We used this one, mixed so that it just clumps in your hand. Measure a level line along the perimeter (should have a minimum slope of 1/4” per foot) and begin packing from the edge and work your way to the middle. Let cure for 24 hrs.

4: The next layer to go down is your PVC shower pan liner. Start at the drain and work your way to the edges. Fold over the corners and be careful not to puncture the liner.

5: On top of the liner another mud layer is applied. This is the same as the pre slope but needs to be smooth and even. Water will pool in any imperfections.

6: Next the shower walls, bench, and curb was covered with ½” cement board. This can be a pain to cut and special screws are required. Thinset was applied to all the joints.
7: Once everything has cured (min 24 hrs), the waterproofing membrane can be applied. We went with Redgard but any similar product will work. Apply in thin coats, it goes on pink and dries red. We applied 4 light coats to all the shower walls and floor as well as a large portion of the bathroom floor outside of the shower.


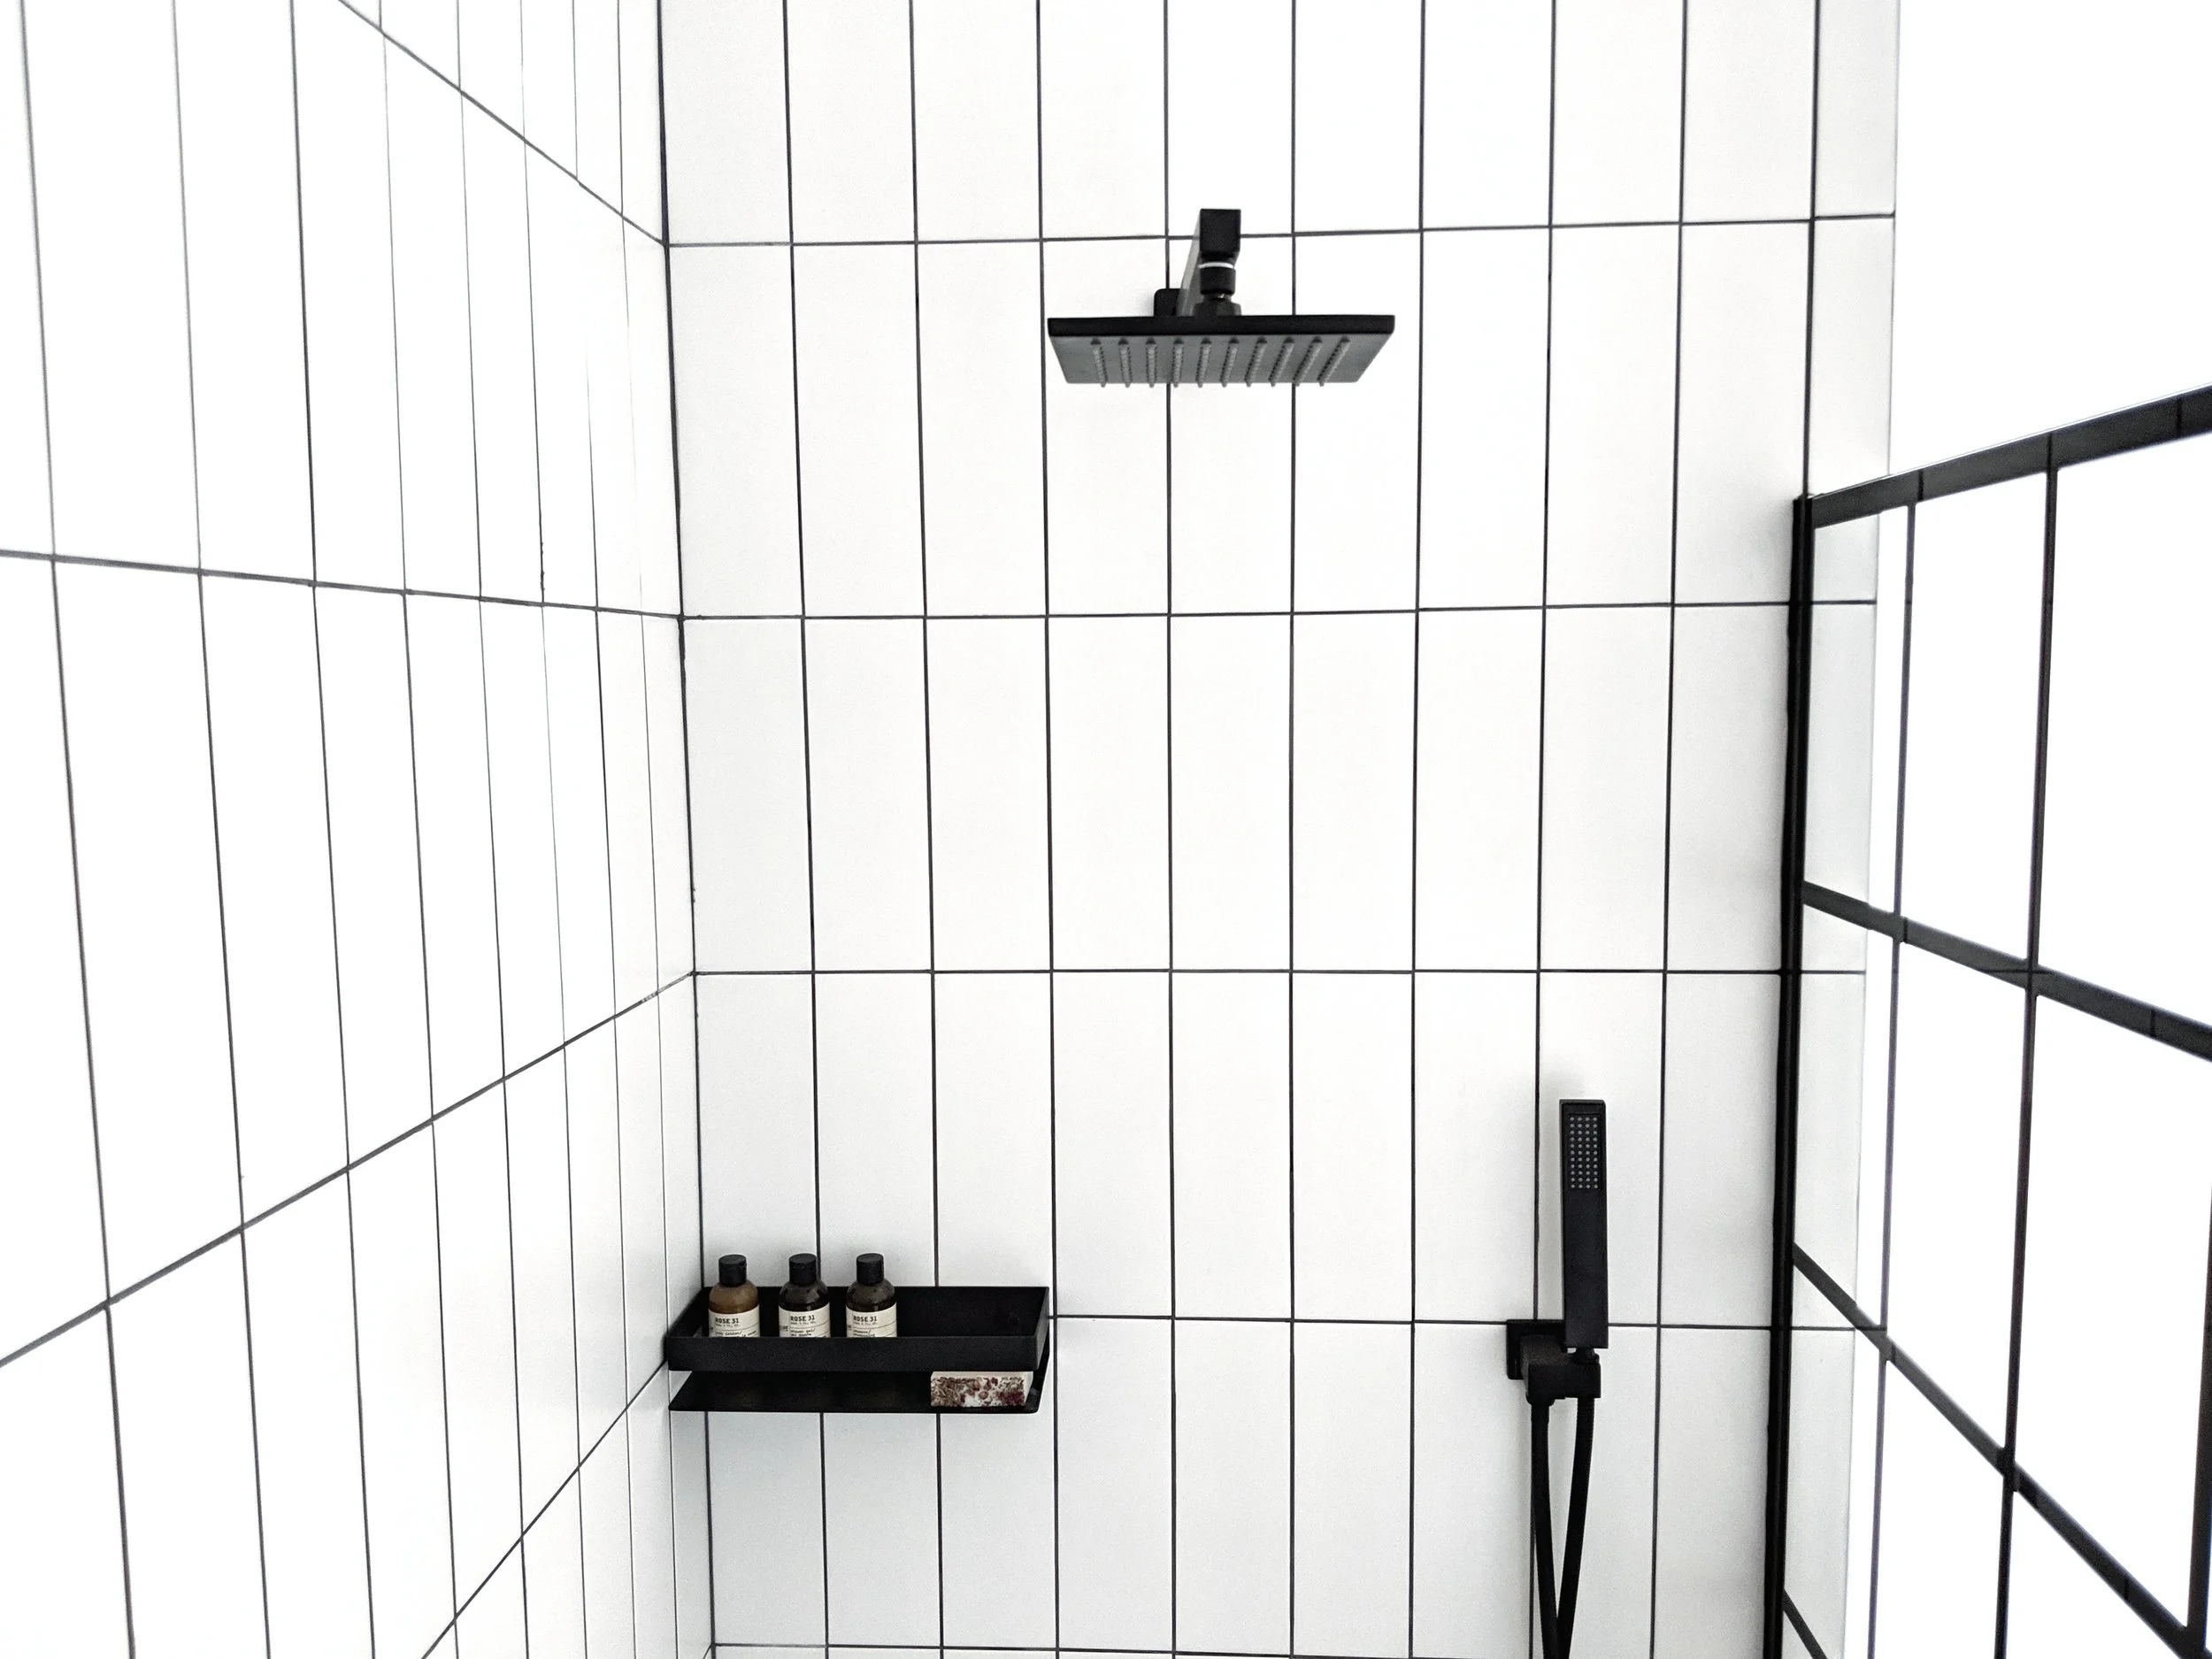
8: After the Redgard has dried it is time to start tiling. We went with a 4”x12” matte white subway tile installed in a square vertical stack pattern. We partnered with B&N Flooring for all of our bathroom tile. They can source just about anything, and special ordered a few things for our project. If you are local to Saint John, we highly recommend them!! So to start, mark where the first row of tiles will end, and install a flat and level board. This will ensure the tile stays level the whole way up the wall, and you don't have to deal with imperfections of the floor. We used T-lock spacers to keep everything on the same plain. Mix grey mortar to a peanut butter consistency, apply with a ¼” trowel, and take your time working up the wall. Once all walls are completed and the mortar has had at least 24hrs to dry, remove the lower board, and patch any holes with 4 layers of Redgard. Can then proceed with the bottom row of tiles.


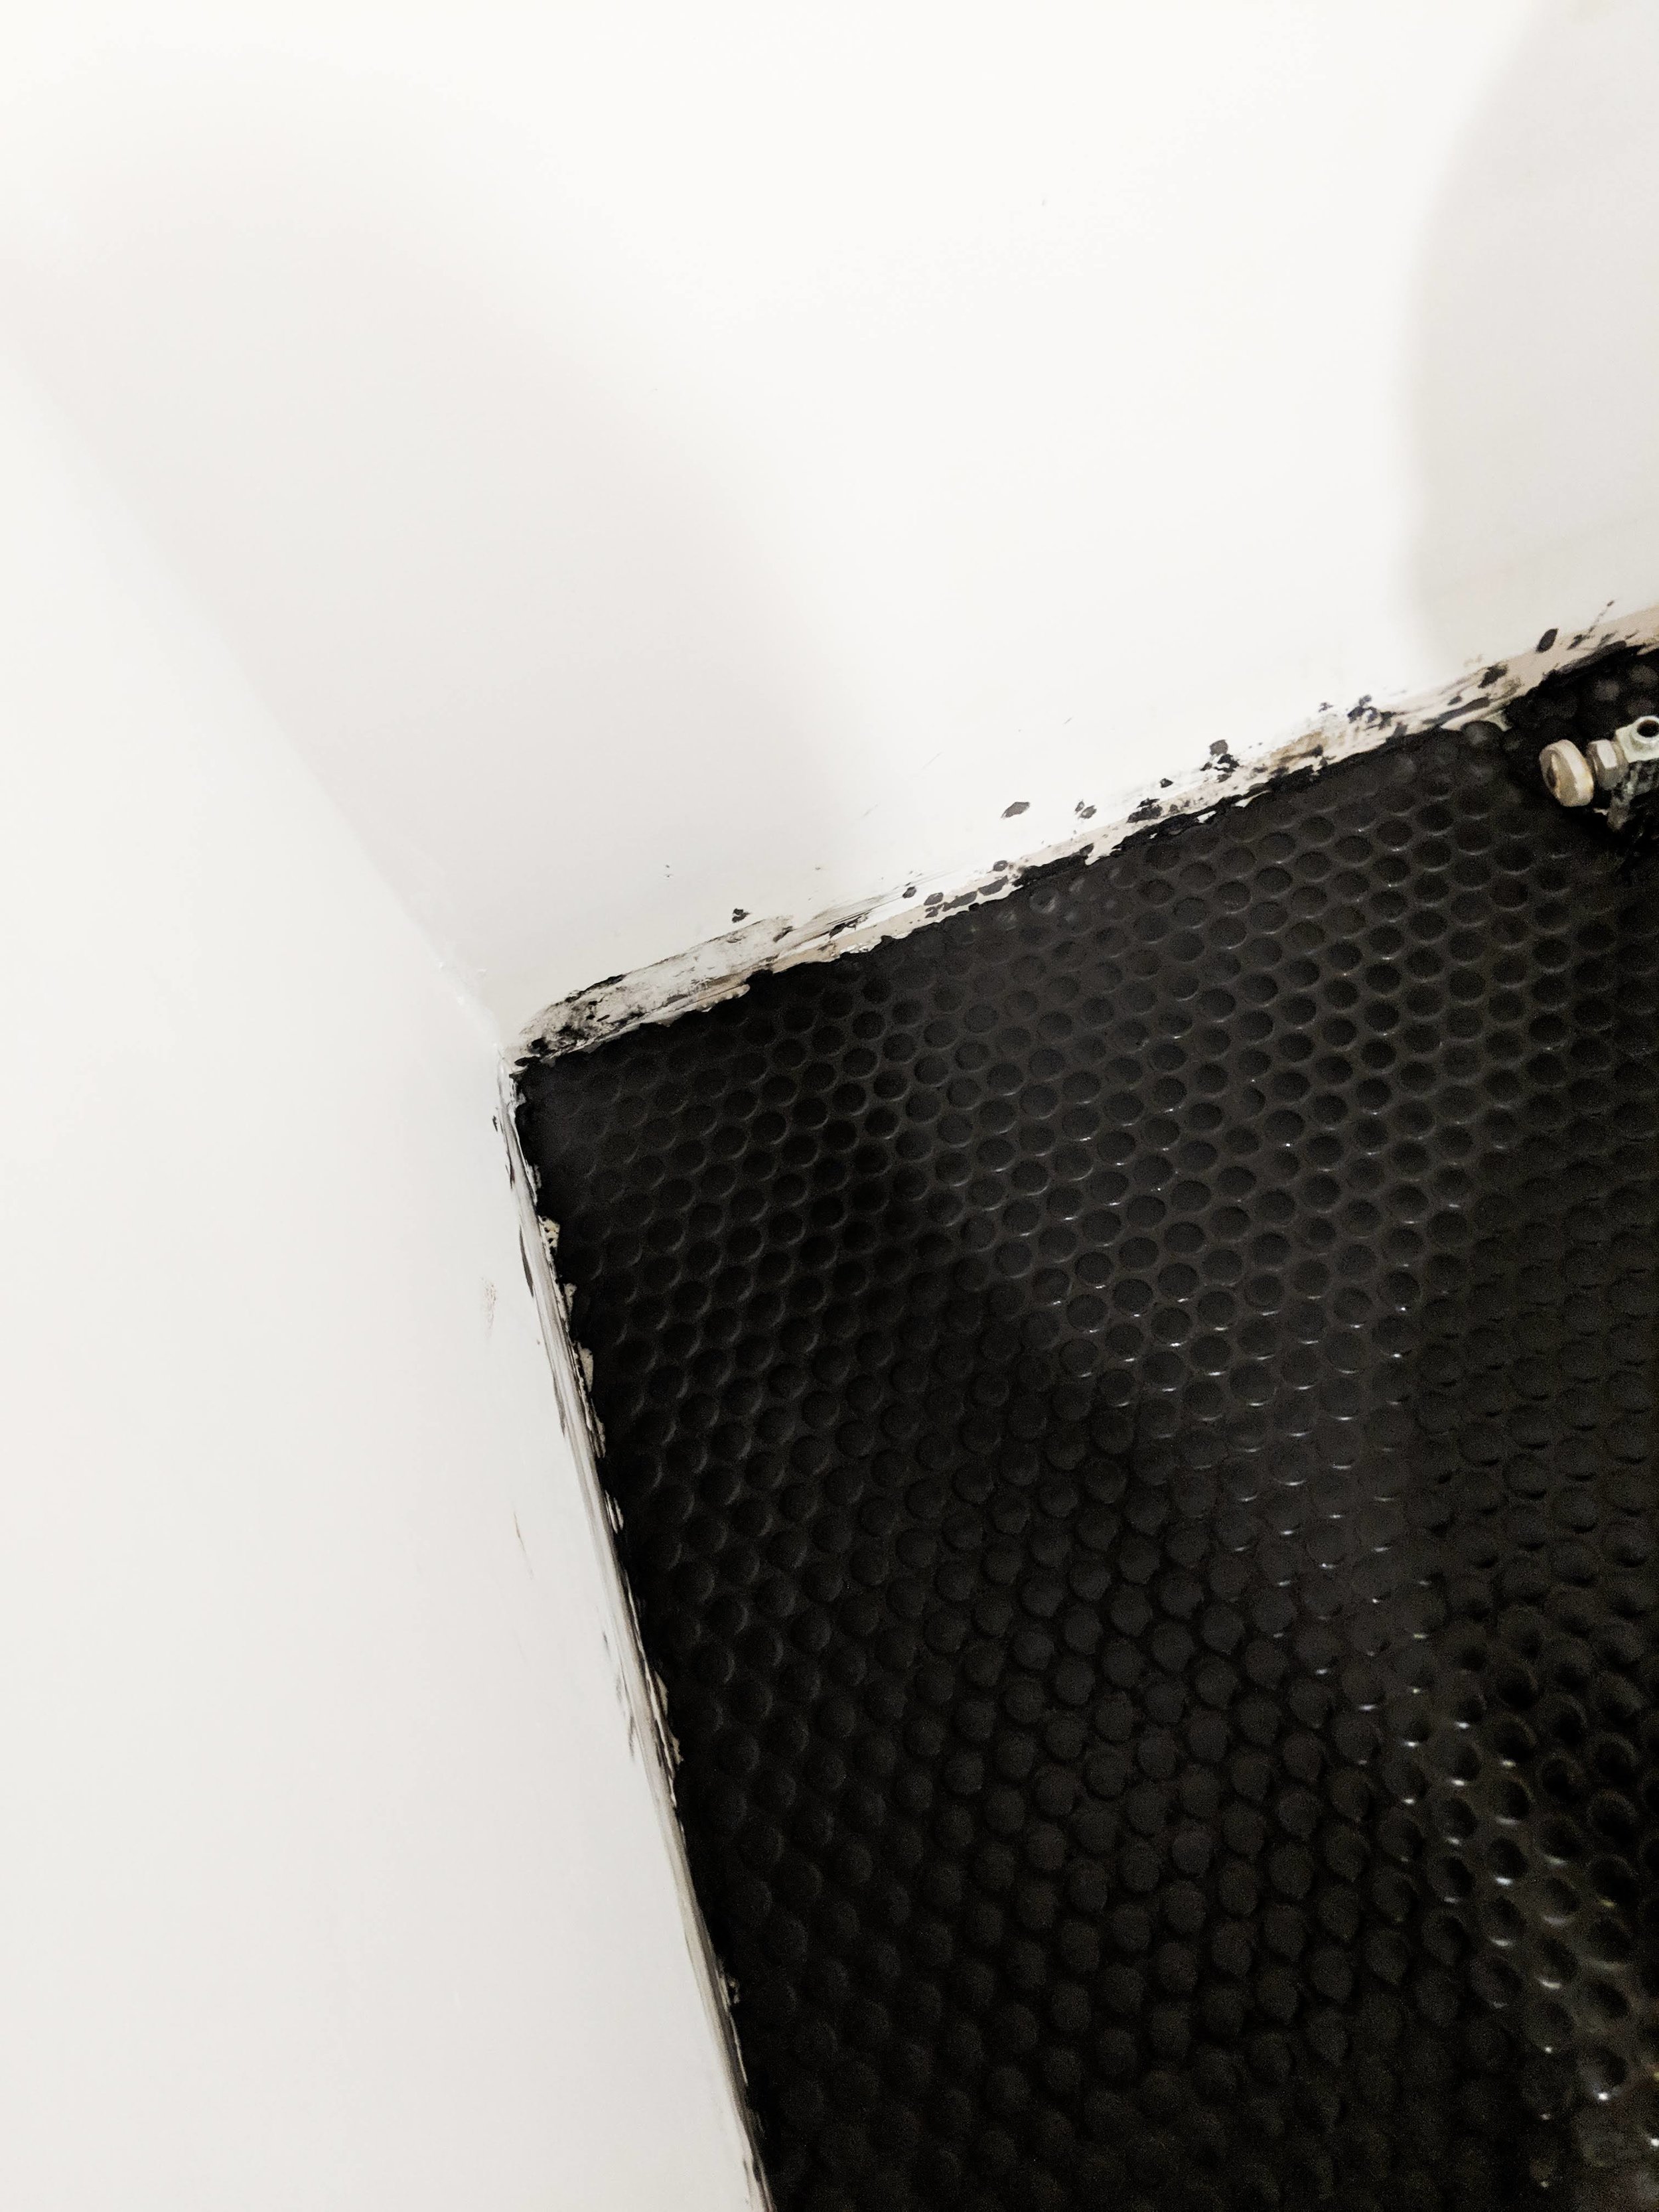
9: For the shower and bathroom floor we went with a black penny tile from B&N Flooring. You need a smaller tile for the floor to accommodate for the sloped surface. The penny tile is easier to install than the wall tile.The key is to apply a thin layer of mortar with a smaller (1’/16”) trowel, you don’t want to put too much down or it will seep between the tiles and make a mess. We laid out the pattern we wanted and pre cut all the tile before starting, so things go quickly once you start applying the mortar. Let this set at least 24hrs before moving on to grouting.

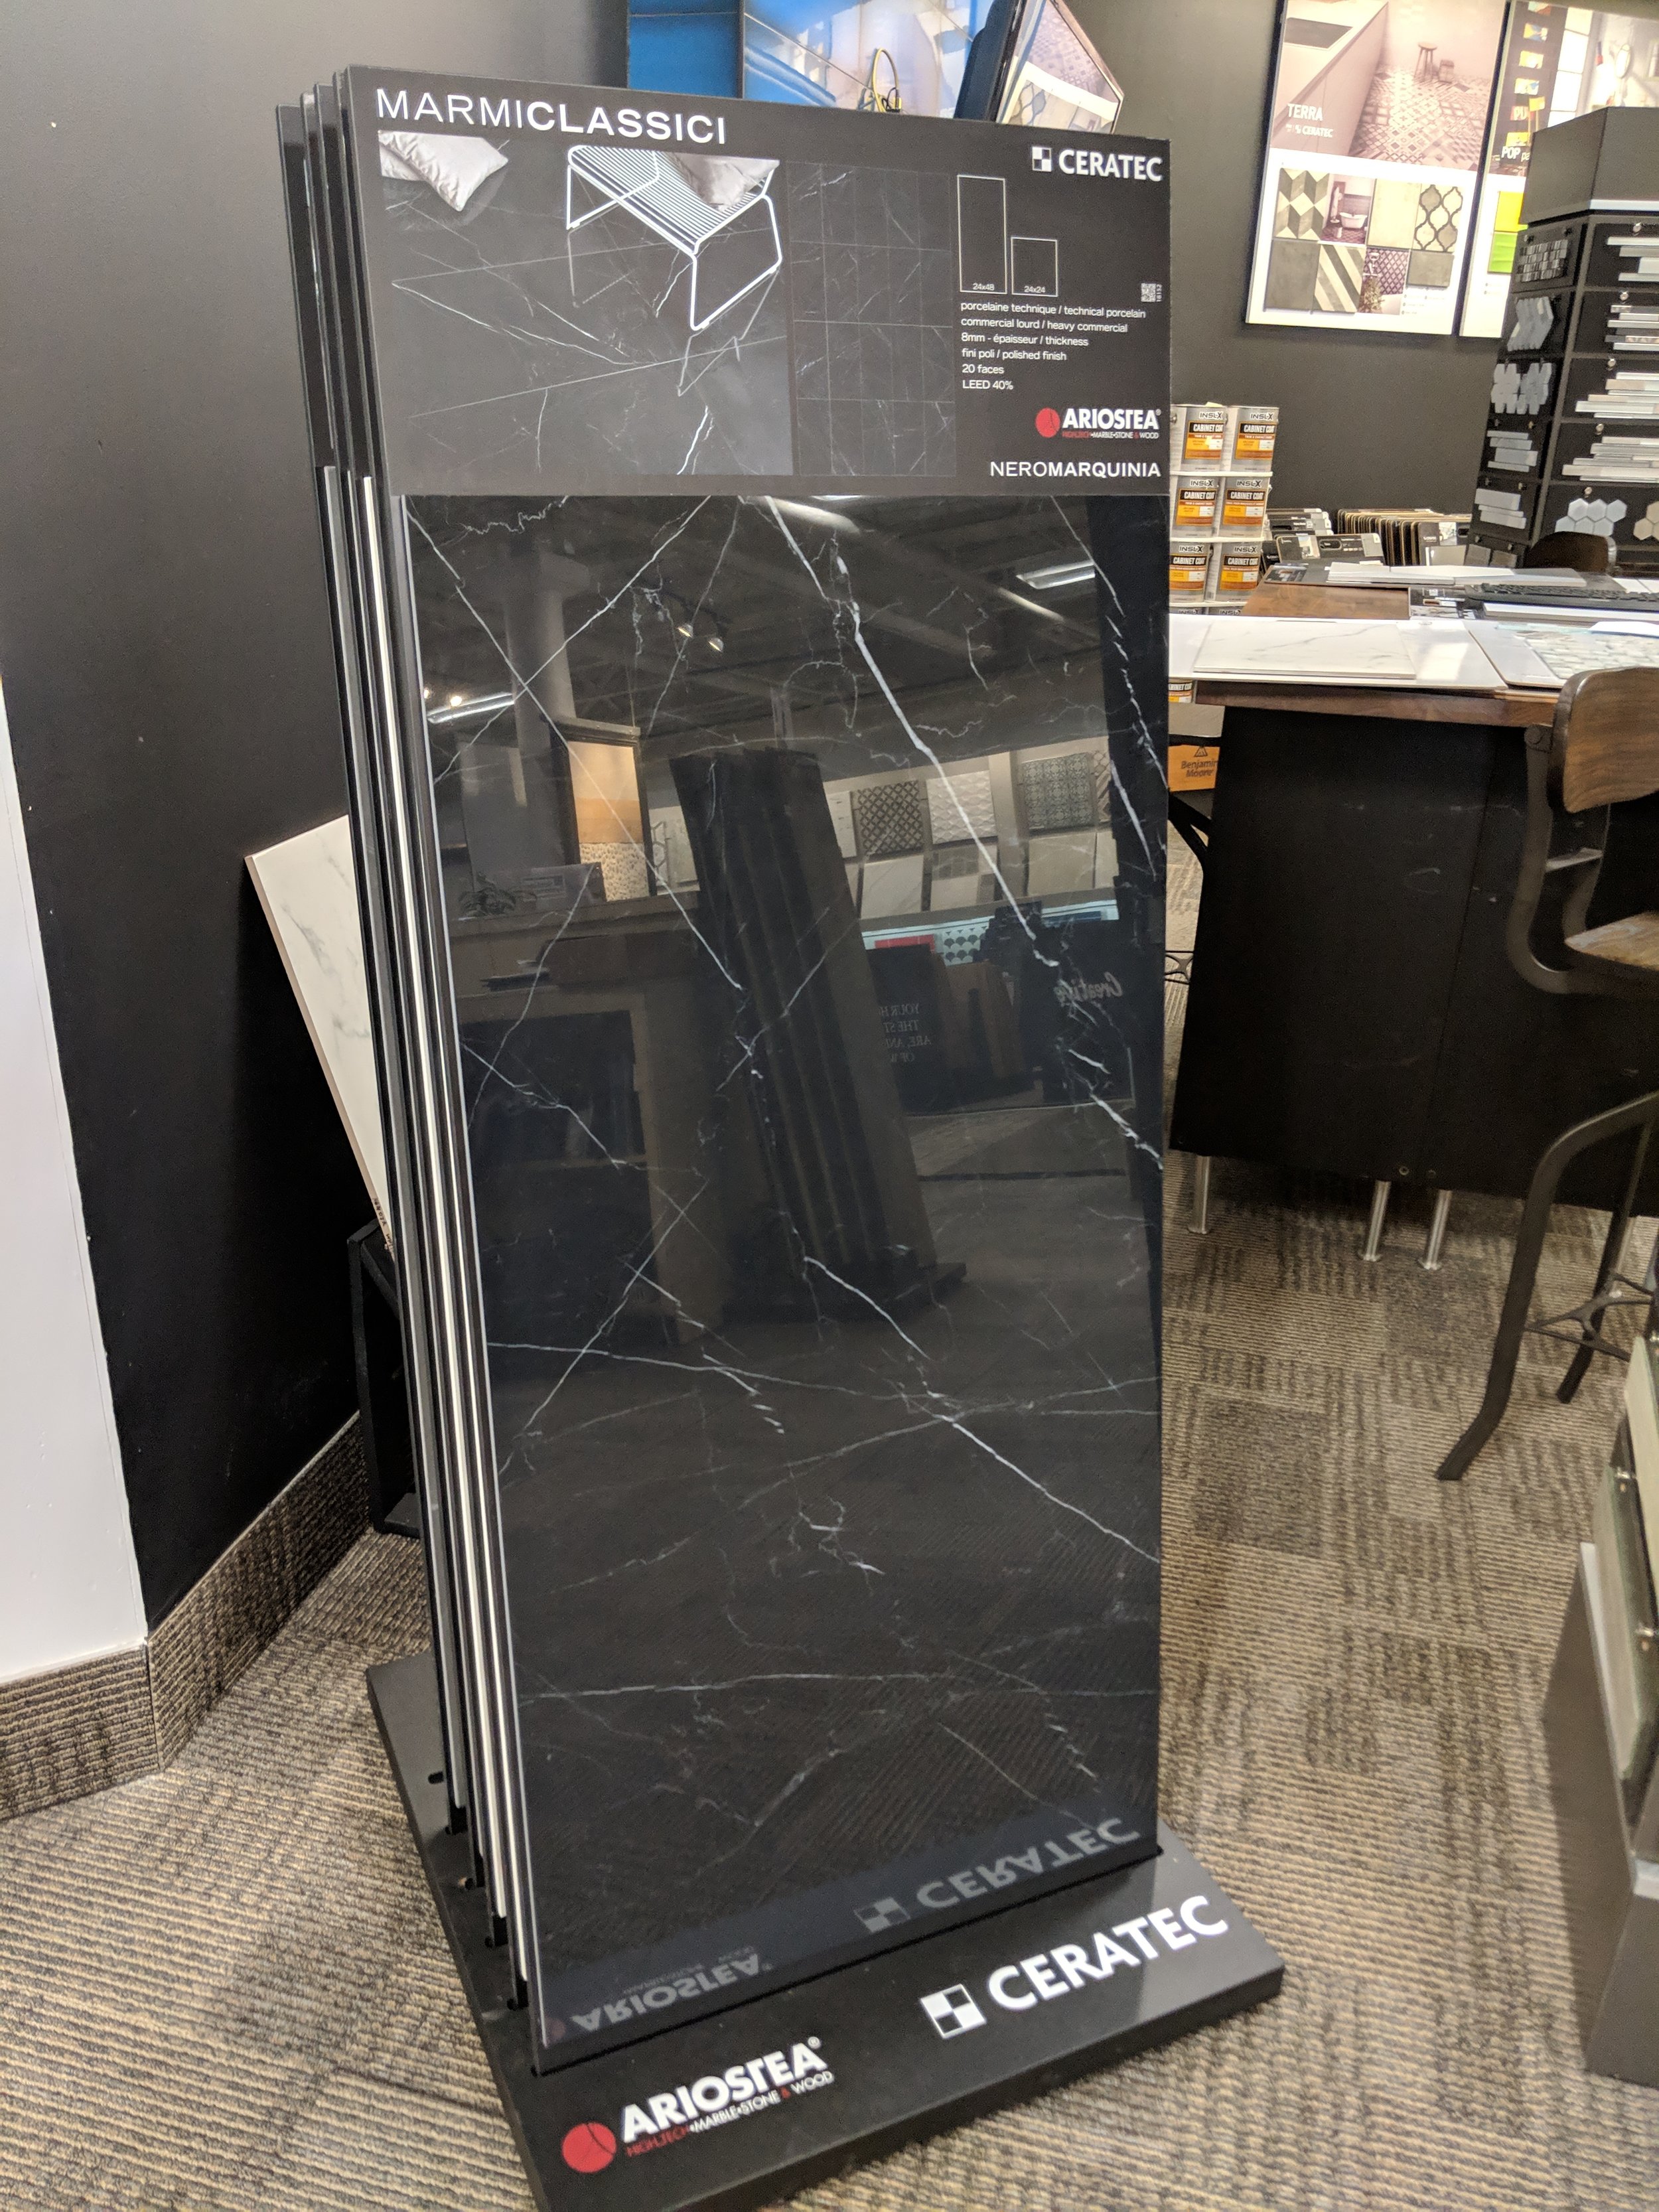
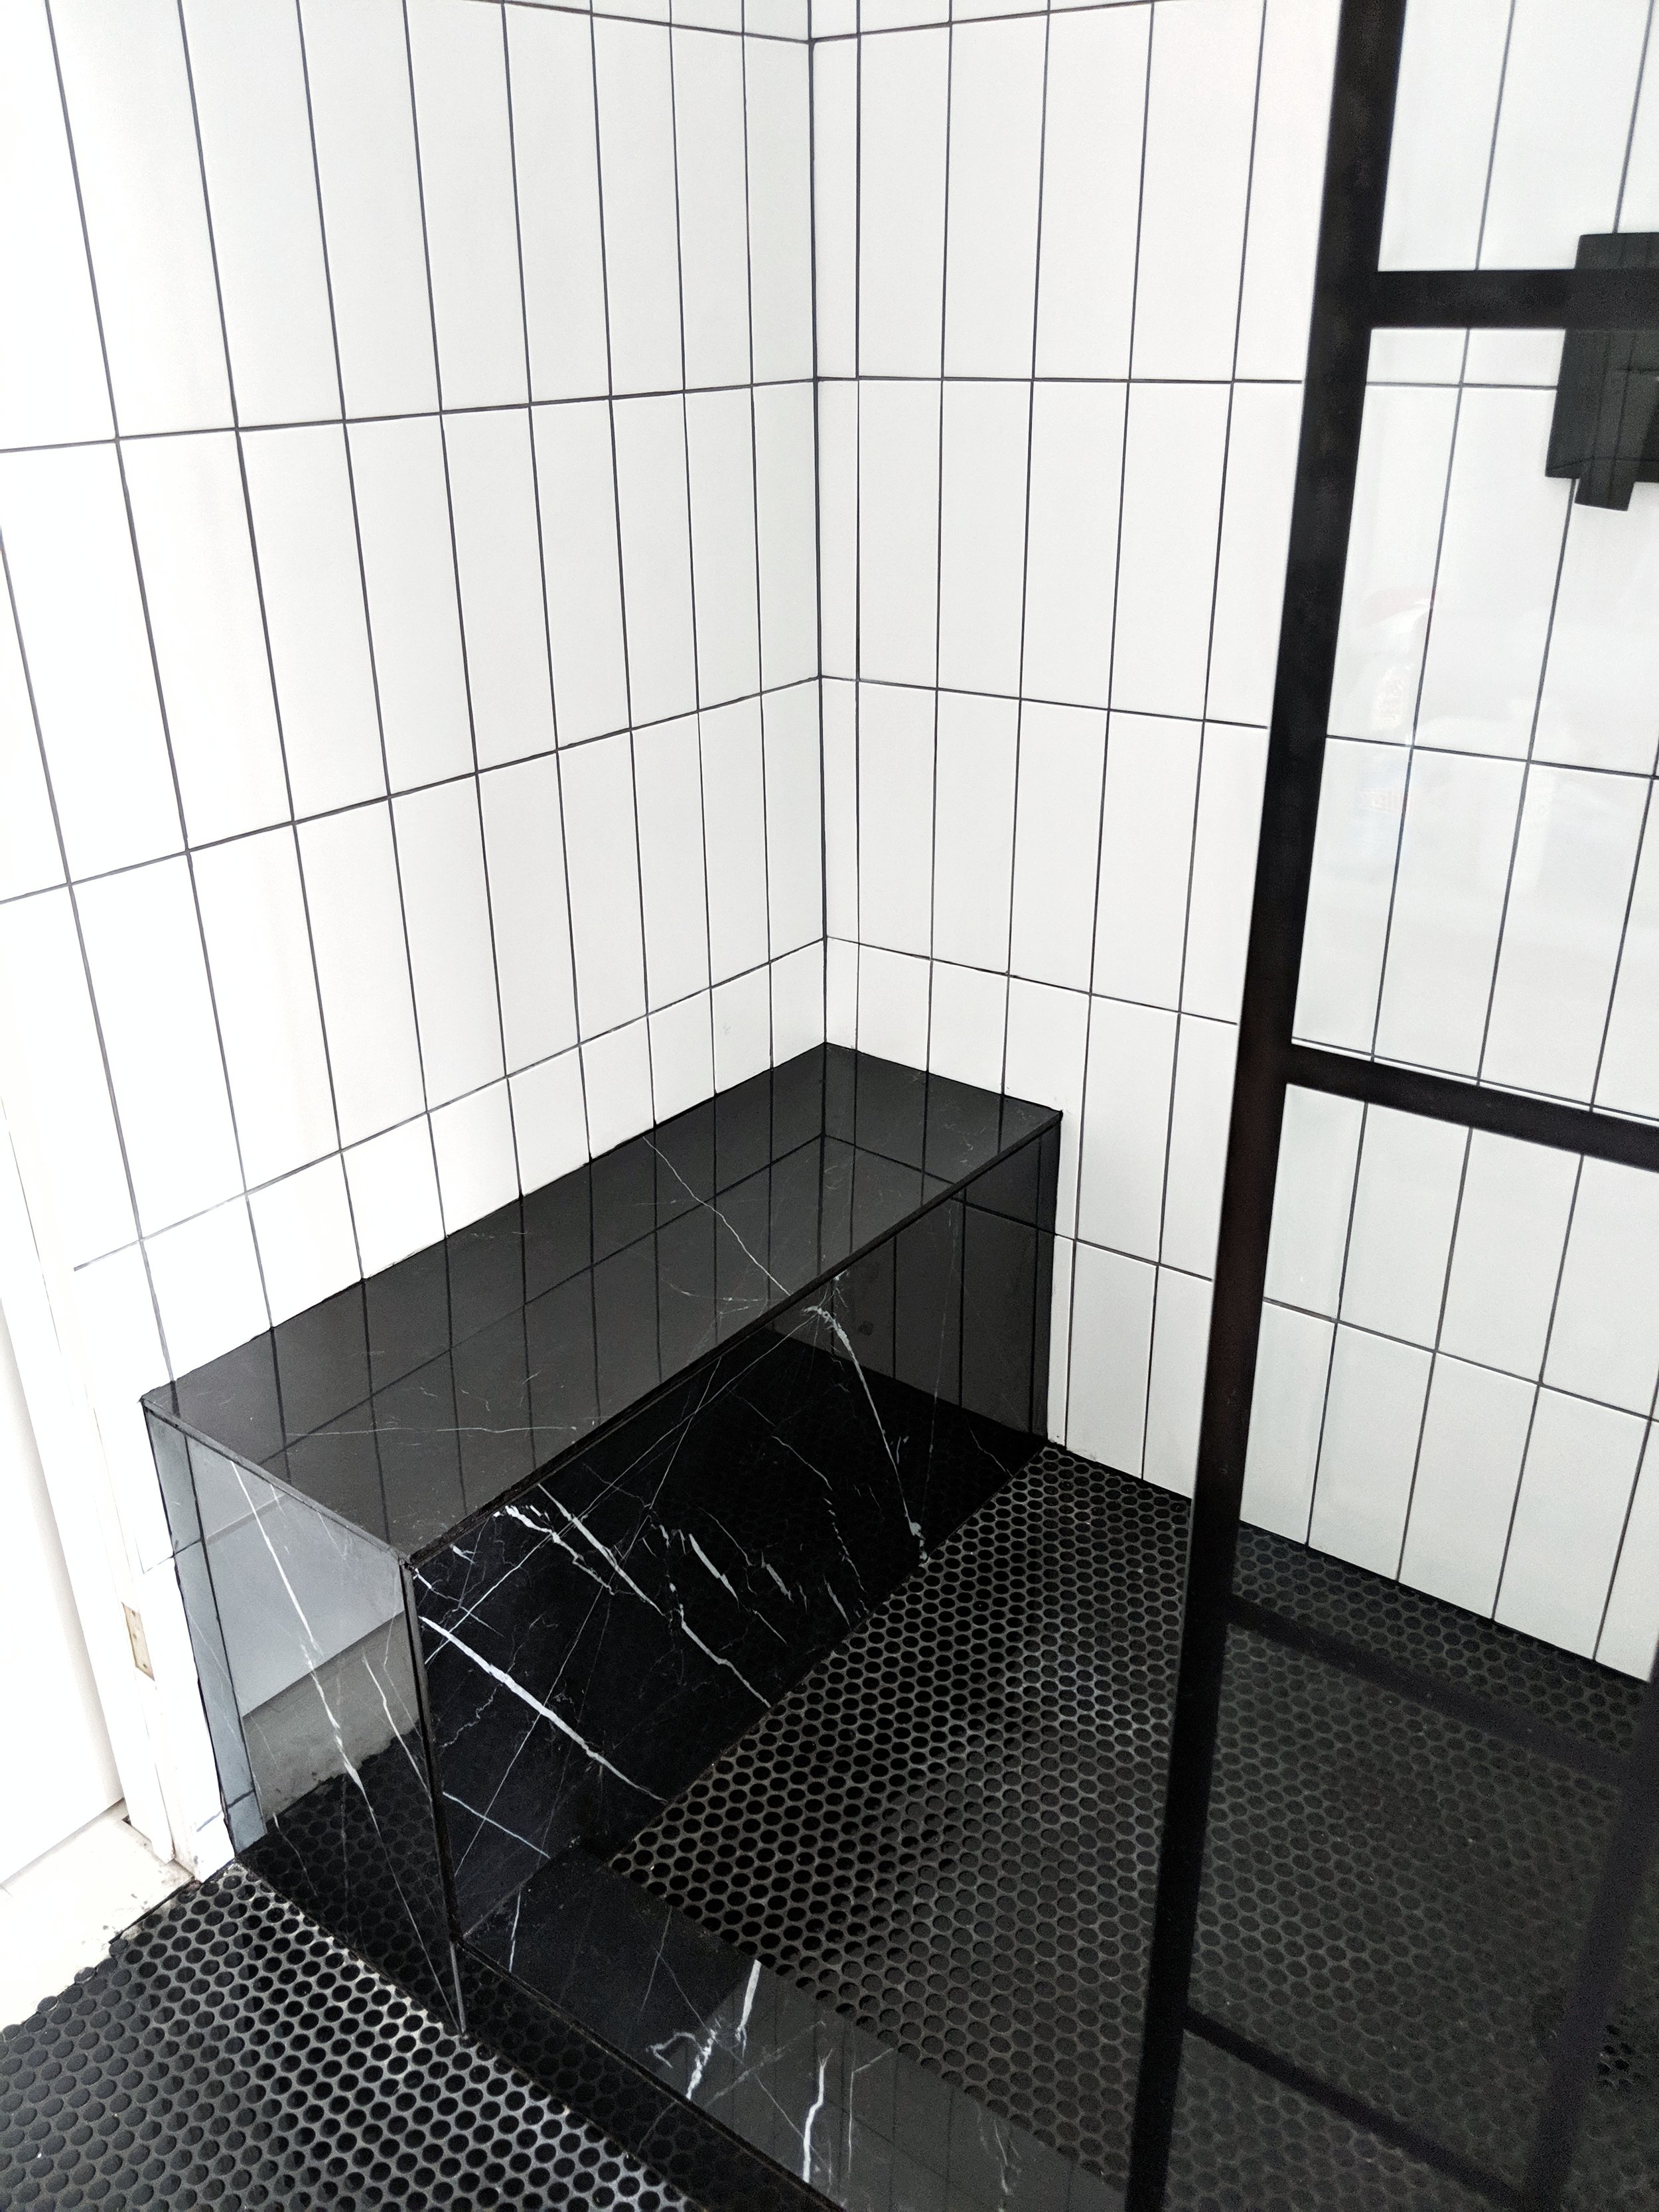
10. For the shower bench and curb we were able to get this awesome large format porcelain tile in a black marble finish from B&N Flooring. We saw a sample of it in their showroom and knew we had to use it somewhere in our master. These came in 2’x4’ tiles for seamless look, it is a bit nerve wracking to cut, but we took our time and were able to get everything line up almost perfectly.


11: We went with a black sanded grout for the floor, and grey un-sanded grout for the walls. Grouting is easier than installing the tiles but can be just as time consuming. Mix the grout to a consistency a bit thinner than peanut butter, and apply with foam grout float. Working in small sections, lather the grout on and between the tiles, press it in with the float and wipe hard across the tiles at a 45 degree angle. After the grout is slightly dry, wipe with a clean sponge to remove any excess. After 10 or 15 minutes, go over the tile again with a clean cloth to remove any haze. Let the grout set for several days, then apply a high quality sealer.
13: Last but not least, we partnered withl Dreamline for our amazing shower door. It really just brings everything together. We chose the French Linea Toulon! It was by far the easiest thing to install, you just line up and screw in the two rails, and the door slides right in (with 2 people carrying it).


Finishing touches
We used black hardware for everything. We chose this rain shower head & wand set, that also comes with the handle! Originally I didn’t want a wand, just because I wanted to keep it as simple as possible visually, but then we reconsidered, and SO happy we did!! Lol We use the wand on the daily for the dog!!! We used this shower shelf the one in matte black that we ordered is sold out, but still comes in silver. For an alternative, I also love this one and this one.


Things to remember if you’re doing it your doing it yourself
-Use a laser level! It makes a huge difference and really is a must have if you are going to try something like this yourself. They are not that expensive and have many other uses. A tripod is a huge help if you don’t have one of those too.
-Take your time, this will probably take a lot longer than you think.
-I debating on just renting a tile saw instead of purchasing the one I did. I would recommend buying unless you have a very small shower, tiling is not something you want to rush, and you will be more likely to cut corners if you are trying to rush to get the saw back on time. This is the one we bought and I highly recommend it.

Tips or things I would do differently if I were to do it again
-Grout in small sections, if you do to large of an area it can set and be a lot tougher to scrub off.
-Don't carry glass shower doors by yourself.
Ordering things or buying them locally
-I find it better to purchase supplies like tile, mortar, grout, etc locally.
-Tools are better to order online, Amazon is typically cheaper than hardware stores. (And we’ve linked everything we used throughout this post to save you some time).

Alright!! There it is, from start to finish the how to of our shower! I must say, it is SO nice to shower in. Lol. We wanted to go for a luxury hotel feel, and we definitely achieved it. The water pressure is so good, and the rainfall is dreamy. If you end up going this route with your own shower, let me know!! And make sure to reach out if you have any further questions that we didn’t cover and we will try and steer you in the right direction!!
Thank you to B&N Flooring and Dreamline Showers for partnering with us for this post!